Welcome to the Cowsay!
 ______________
< Hello World! >
 --------------
        \   ^__^
         \  (oo)\_______
            (__)\       )\/\
                ||----w |
                ||     ||
Hey there
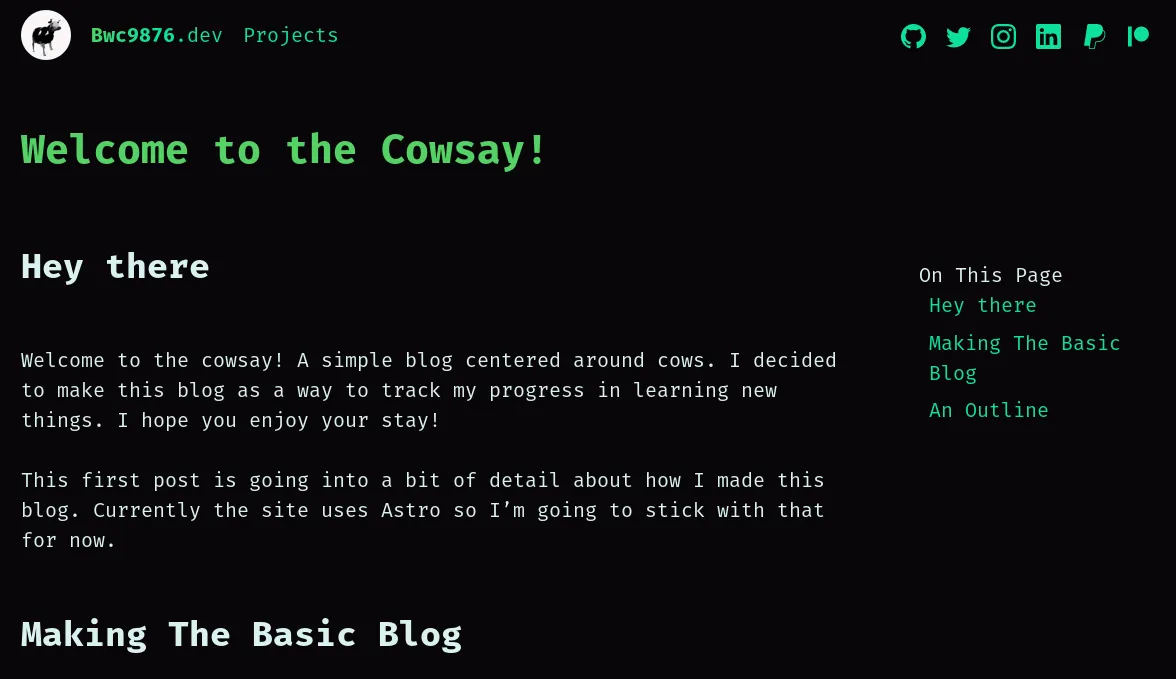
Welcome to the cowsay! A simple blog centered around cows. I decided to make this blog as a way to track my progress in learning new things. I hope you enjoy your stay!
This first post is going into a bit of detail about how I made this blog. Currently the site uses Astro so I’m going to stick with that for now.
Making The Basic Blog
Astro has a wonderful feature called the content framework, an extremely powerful way to easily create many pages with simple markdown and some frontmatter.
First thing you have to to do is create a folder called content in the src directory.
I already had some content setup because of the projects parts of this site.
Inside the content folder you place a config.ts which will contain the schemas
for your content’s frontmatter. I’ll just focus on my blog posts for now.
const blogPostsCollection = defineCollection({
    schema: z.object({
        title: z.string(),
        date: z.date(),
        summary: z.string(),
        cowsay: z.string()
    })
});
This contains the metadata each blog post will need to have in order for my site
to render it. That cowsay is a bit special.
Then, we simply export an object named collections which Astro will then pick
up and generate TS bindings for.
export const collections = {
    posts: blogPostsCollection
};
Now we can get to writing some content! To do so simply make a folder with the
same name as the key of the collection you want to write for. In this case, posts.
Then create a markdown file within and start writing! Here’s a little excerpt of what this page looks like:
---
title: Welcome to the Cowsay!
date: 2023-10-15
summary: Welcome to the cowsay! A simple blog centered around cows.
cowsay: Hello World!
---

## Hey there!

Welcome to the cowsay! A simple blog centered around cows.
I decided to make this blog as a way to track my progress in learning new things.
I hope you enjoy your stay!
The frontmatter is the part between the --- and ---. This is where you put
metadata for the post. The cowsay field is a special one that I made up. It
changes what the cow says in the header of the page. I’ll get to that later.
Now that we have some content, we can start writing some code to render it!
I start off by making a blog folder in the src/pages directory. This is where
all my blog related pages will go. I then make a index.astro file which will
be a directory of all posts on the site.
---
import Layout from "@layouts/Layout.astro";
import { getCollection } from "astro:content";
const blogEntries = await getCollection("posts");
---
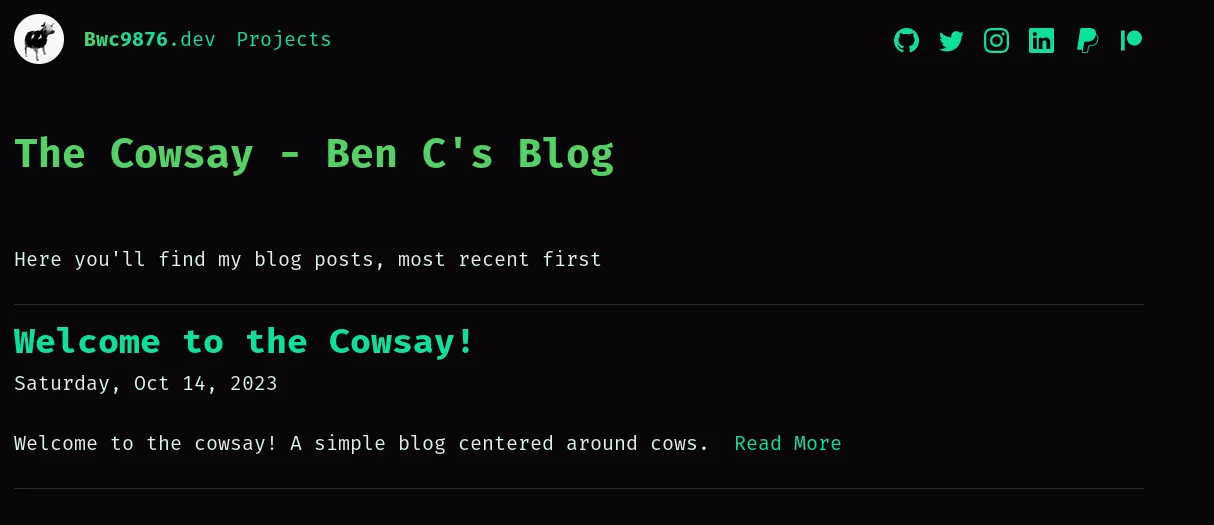
<Layout title="The Cowsay - Ben C's Blog">
<h1>The Cowsay - Ben C's Blog</h1>
<p>Here you'll find my blog posts, most recent first</p>
{
blogEntries.map((p, i) => (
<>
{i === 0 && <hr />}
<hgroup>
<h2>
<a href={`/blog/posts/${p.slug}`}>{p.data.title}</a>
</h2>
<h3>
{p.data.date.toLocaleDateString("en-us", {
weekday: "long",
year: "numeric",
month: "short",
day: "numeric"
})}
</h3>
</hgroup>
<p>
{p.data.summary} <a href={`/blog/posts/${p.slug}`}>Read More</a>
</p>
<hr />
</>
))
}
</Layout>

Great! I’ll probably fiddle with it in the future but it’s a good start. Now we need to make a page for each post.
To make my URLs look nice I’m going to create a subfolder within blog called posts and then place a [...slug].astro in there.
This will allow me to use getStaticPaths() to define the paths for each post.
---
import Layout from "@layouts/Layout.astro";
import { CollectionEntry, getCollection } from "astro:content";
export const getStaticPaths = async () => {
    const posts = await getCollection("posts");
    return posts.map((entry) => ({
        params: { slug: entry.slug },
        props: { entry }
    }));
};

const { entry } = Astro.props as { entry: CollectionEntry<"posts"> };
const { Content } = await entry.render();
---

<Layout title={entry.data.title} description={entry.data.summary}>
    <h1>{entry.data.title}</h1>
    <Content />
</Layout>

<style is:global>
    img {
        border: solid 1px var(--text) !important;
        border-radius: 5px;
    }
</style>
Amazing! I’ll spare you the image this time since… you’re… look at it. But now we have a blog post page! Now anytime I want to make a new post I just have to make a new markdown file and it’ll be rendered on the site.
An Outline
Now that we have a basic blog, I want to add a few more features to it. First I want to add the ability to see all headers in a post.
This should be pretty easy to do. Astro automatically parses all the headers for us and lets us access them in the entry object.
First we need to grab the headings from when we rendered the page:
const { Content, headings } = await entry.render();
Then we need to map those to HTML
<div class="toc">
    <!-- Extra div so we can make it sticky -->
    <div>
        <span>On This Page</span>
        <ul>
            {
                headings.map((h) => (
                    <li>
                        <a href={`#${h.slug}`}>{h.text}</a>
                    </li>
                ))
            }
        </ul>
    </div>
</div>
Finally some simple styles and layout
<style>
    /** Wrapper is going around everything to make the
        table of contents appear on the right of the page **/
    div.wrapper {
        display: flex;
        flex-direction: row;
        gap: 4rem;
    }

    div.toc {
        width: 100%;
    }

    div.toc div {
        top: 5rem;
        margin-top: 1rem;
        position: sticky;
    }

    div.toc ul li {
        list-style-type: none;
    }
</style>
Finally, I want to make sure on smaller screen sizes the table of contents appears at the top rather than the side so it doesn’t take up too much space.
div.wrapper {
    display: flex;
    flex-direction: column-reverse;
    gap: 1rem;
}

@media (min-width: 1200px) {
    div.wrapper {
        flex-direction: row;
        gap: 4rem;
    }
}

The Cowsay
Now for the fun part. I want to make a little cow that says something in the header of each post. I’m going to use the cowsay field in the frontmatter to do this.
I’ll also provide a CowSay component that will render the cow and the text. This way I can use it MDX for admonitions.
First I need to make a component that will render the cow. I’m going to use the cowsay package to do this.
---
import * as cowsay from "cowsay";

type Props = {
    color?: "warn" | "info";
} & cowsay.IOptions;

const { color, ...cowOptions } = Astro.props;

const cowText = cowsay.say(cowOptions);
---

<pre class={color}>
{cowText}
</pre>

<style>
    pre {
        padding: 1rem;
    }

    pre.warn {
        color: yellow;
        background-color: rgb(25, 25, 0);
    }

    pre.info {
        color: cyan;
        background-color: rgb(0, 25, 25);
    }
</style>
Now I can link it up in my blog post page!
<CowSay text={entry.data.cowsay} />
Et voila! A cow that says something in the header of each post! I’ll probably make it a bit more fancy in the future but for now it’s good enough.
I can also use it for admonitions in MDX!
<CowSay color="warn" e="><" text="Warning!" />
<CowSay color="info" e="^^" T="U" text="Info!" />
 __________
< Warning! >
 ----------
        \   ^__^
         \  (><)\_______
            (__)\       )\/\
                ||----w |
                ||     ||
 _______
< Info! >
 -------
        \   ^__^
         \  (^^)\_______
            (__)\       )\/\
             U ||----w |
                ||     ||
I’ll hold off on making an error one for now. Lest the cows get too angry.
Conclusion
I’m really happy with how this blog turned out. I’m going to keep working on it and adding new features as I go. I’m also going to try and write more posts in the future. I hope you enjoyed this one!
 ________
< Adiós! >
 --------
        \   ^__^
         \  (^^)\_______
            (__)\       )\/\
                ||----w |
                ||     ||